Timber Van Kits
DIY Headliner Shelf Kit for Sprinter Vans
DIY Headliner Shelf Kit for Sprinter Vans
Couldn't load pickup availability
Description
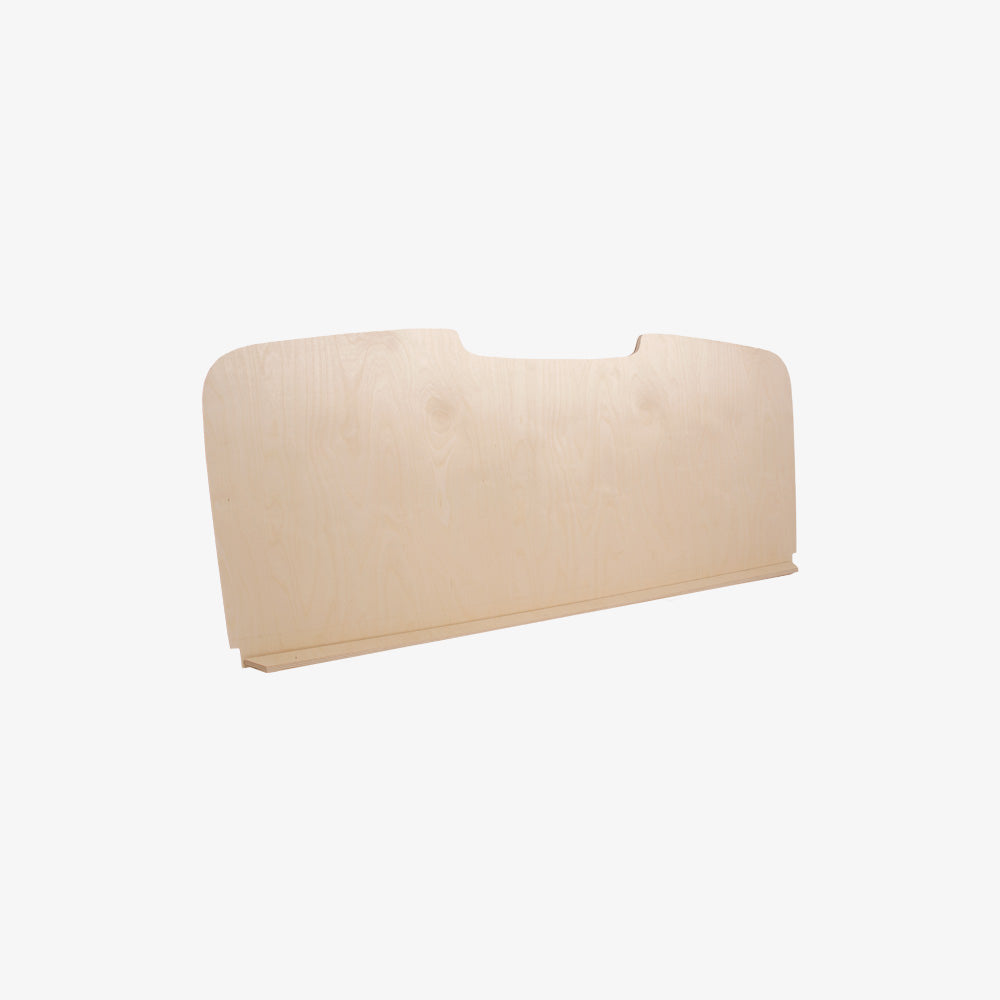
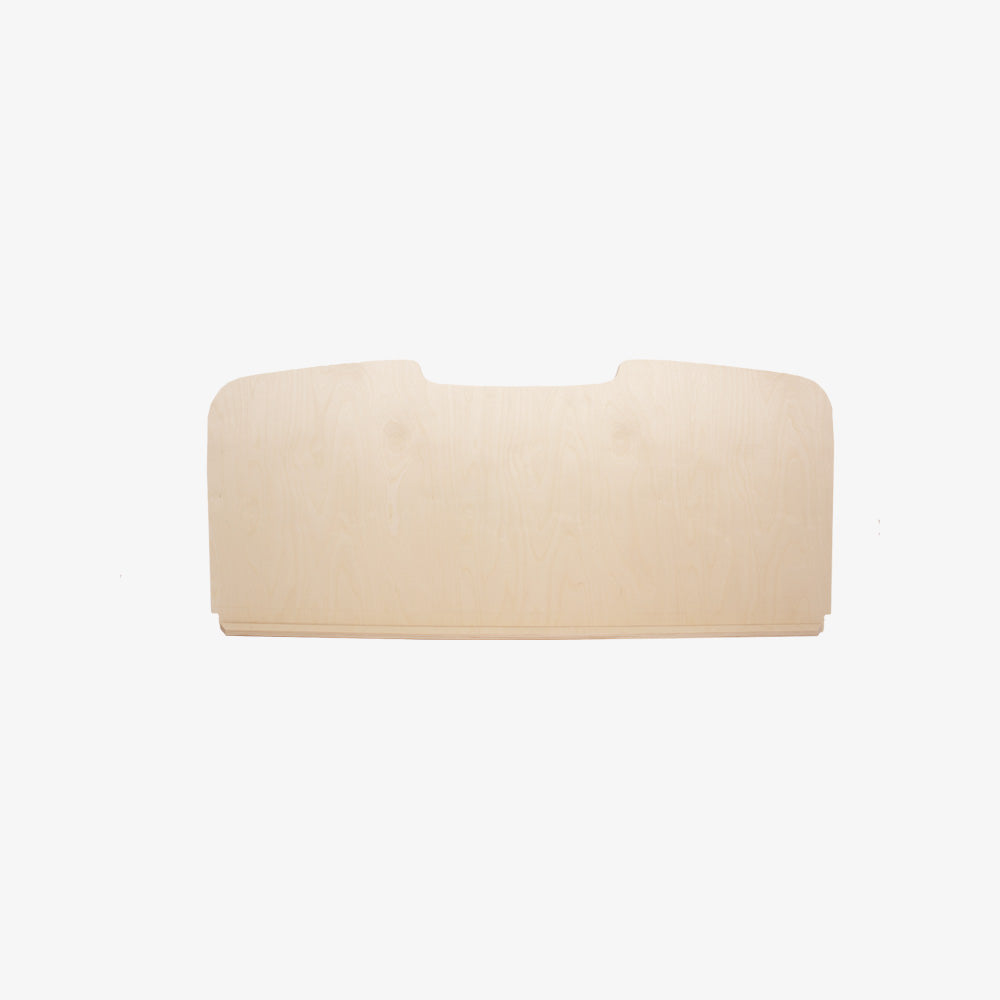
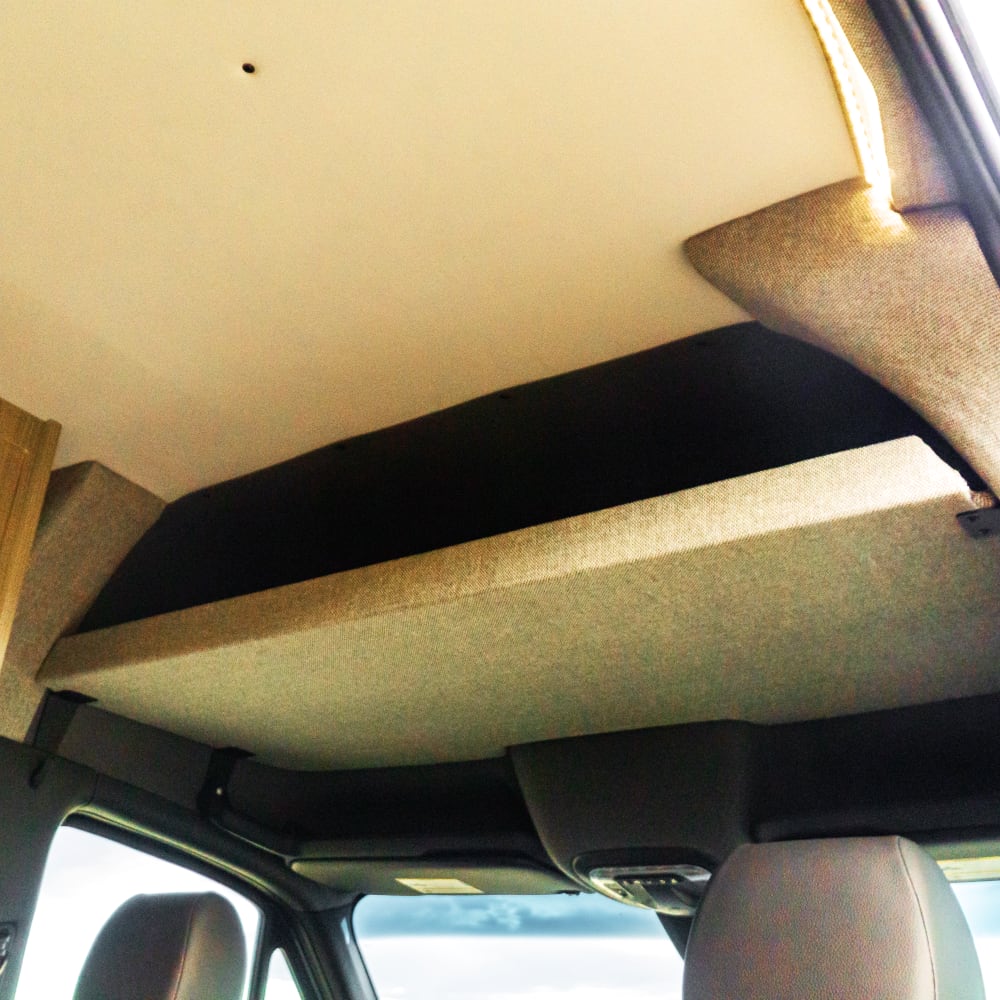
The Sprinter Headliner shelf kit is designed to fit any Mercedes Sprinter from 2007 or newer. This shelf allows you to add valuable storage space by utilizing the unused area above the driver and passenger seats. It comes ready for you to paint or upholster according to your preferences.
PLEASE READ
ALL OUR WOOD PRODUCTS COME AS UNFINISHED NATURAL WOOD. WARPING DUE TO MOISTURE AND HEAT IS COMMON! IF CHOOSING TO STAIN AND LEAVE AS UNCOVERED WOOD, KEEP IN MIND THAT ALL WOOD PRODUCTS WILL HAVE GRAIN, COLOR, AND TEXTURE VARIATIONS. REQUIRES SANDING.
Some components/ hardware may not look exactly like the photo.
Please note that exterior-grade finishes or Rubio Monocoat oils are required for our products. The temperatures and moisture levels inside vehicles can fluctuate significantly, so it is important to use the appropriate products to finish these components. If you have any questions, please do not hesitate to contact us.
Find instructions with QR codes sent with shipment, documents attached at the bottom of this page, or check out each individual product’s page on our website to access instructions faster!
Features
- Large platform for interior storage
- Lip to prevent items from falling off
- Durable 1/2 inch Baltic birch plywood
Compatibility
- Compatible with Mercedes Sprinter models from 2007 or newer.
Kit Includes
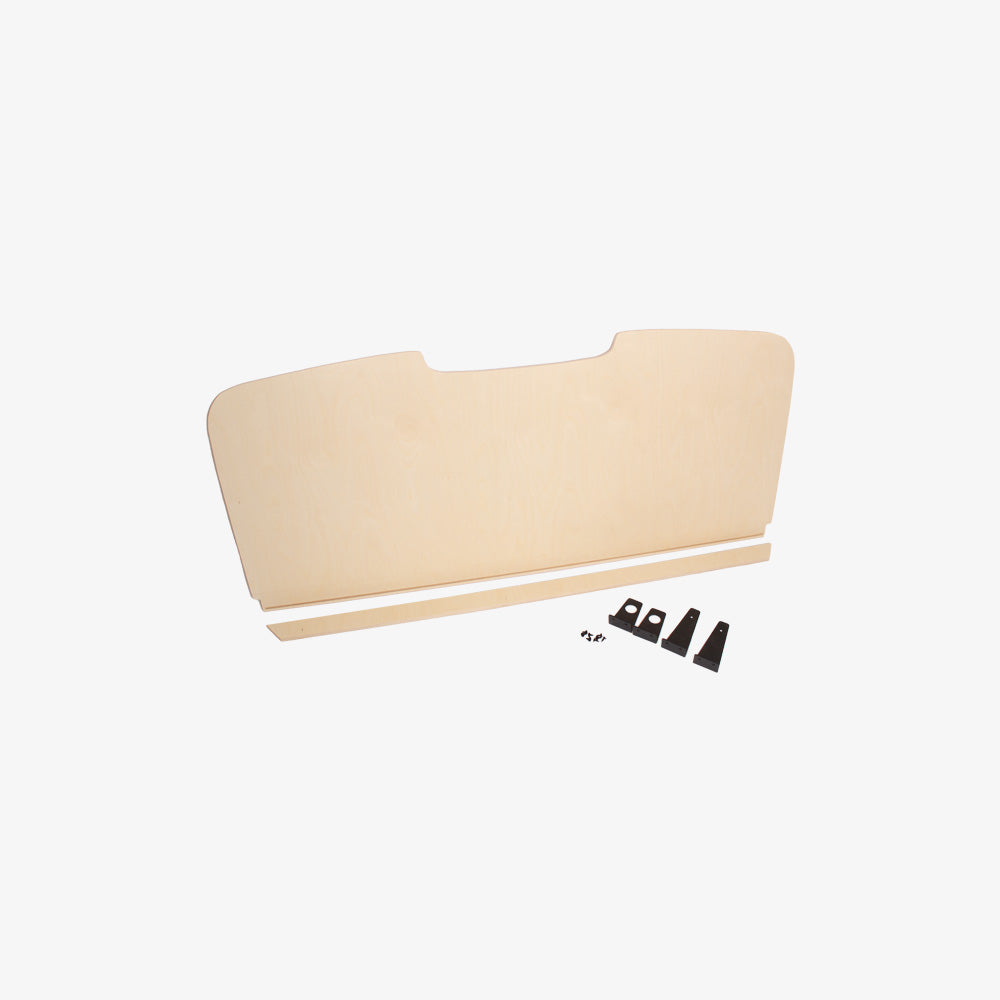
- Headliner Shelf
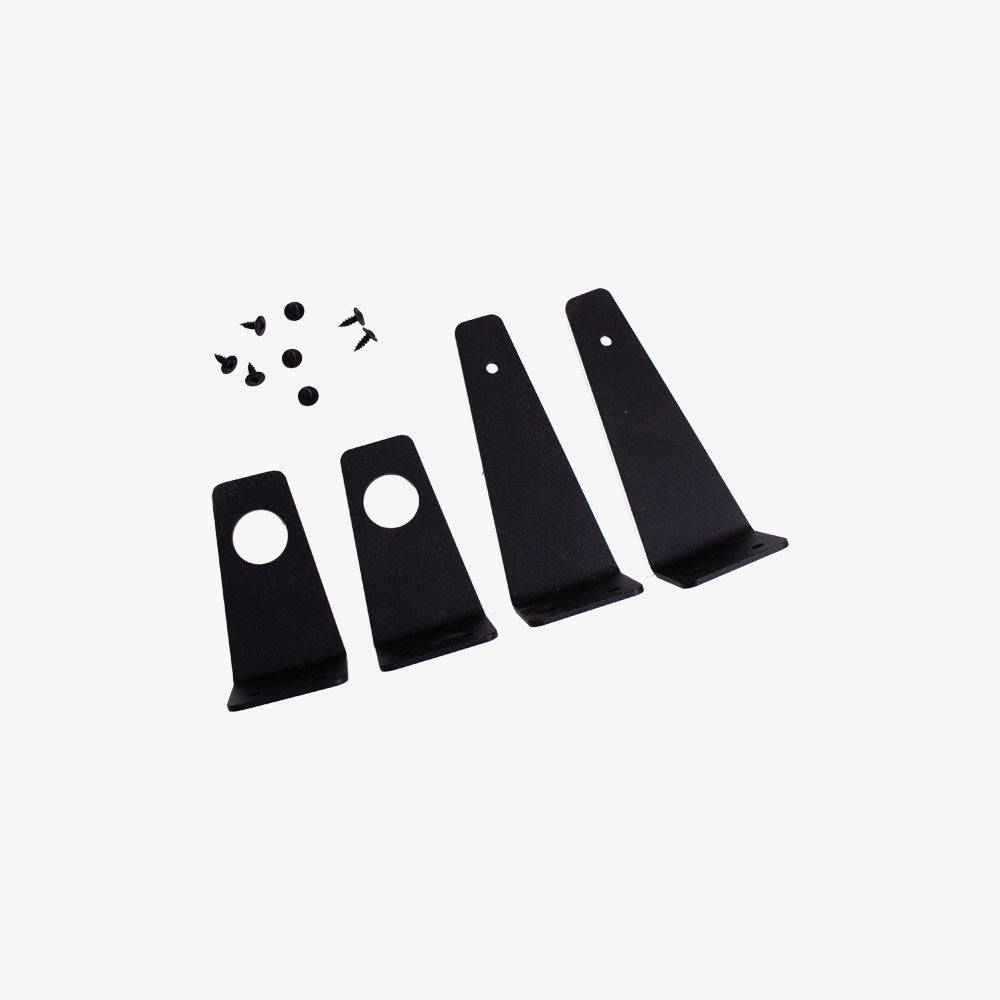
- 4 Brackets
- 8 Screws
Specifications
- Weight: 14 pounds
- Length: 54.5 inches
- Width: 23 inches
- Height: 2.5 inches
Shipping
- Processing time: 2 to 5 days
- Shipping time: 1 to 4 days
- Packing: The kit is flat packed and shipped to you with all hardware included.
- Weight (Packed): 15 pounds
- Box Dimensions: 55 x 5 x 24 inches
- Free Shipping
Installation
- Once you have assembled the shelf and finished it to your style, remove four fasteners from your Sprinter. Remove both the driver and passenger coat hangers on the B-columns (where the seat belts are attached) by prying off the plastic cover and using a Torx bit to remove the screws. Next, remove the fasteners on the rear of the visor grab handles. Install the supplied brackets on the driver side only, and then reinstall the visor and coat hanger brackets.
- To install the shelf, place it on the driver side brackets at an angle, then pivot it into position. Install the passenger side brackets and fasten the shelf using the provided wood screws.
Returns
Share
